 easyData
Easily get data from any source and visualize it in an beautiful form
- Google Analytics
- Search Console
- Google Sheets
- ...and many more coming soon
npm i mdb-easydata
Made by
![]() - trusted by 2,000,000+ developers and
designers
- trusted by 2,000,000+ developers and
designers
Documentation
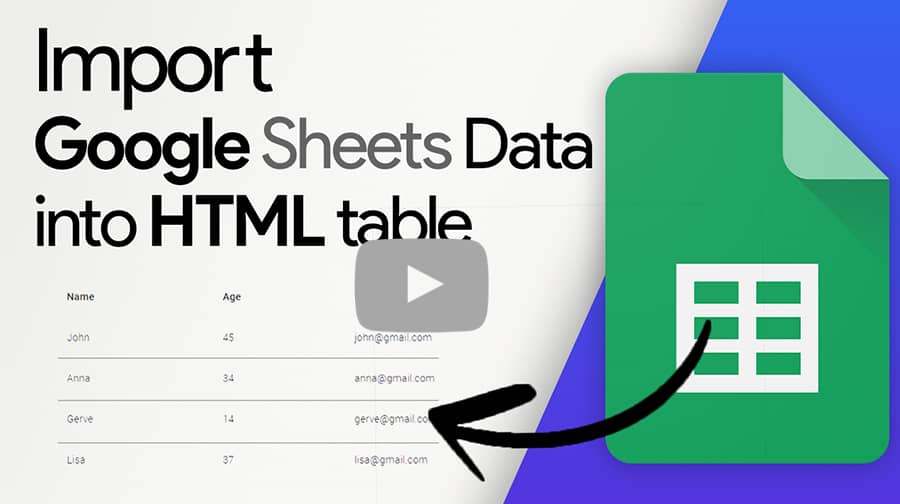
 Google Sheets
Step 1:
Install easyData package (via .zip download, npm or by cloning github repository)
Step 2:
Copy and paste the snippet below into your project.
{
  {
    // Your API KEY
    const API_KEY = "";

    function displayResult2(response) {
      let tableHead = "";
      let tableBody = "";

      response.result.values.forEach((row, index) => {
        if (index === 0) {
          tableHead += "<tr>";
          row.forEach((val) => (tableHead += "<th>" + val + "</th>"));
          tableHead += "</tr>";
        } else {
          tableBody += "<tr>";
          row.forEach((val) => (tableBody += "<td>" + val + "</td>"));
          tableBody += "</tr>";
        }
      });

      document.getElementById("table-head").innerHTML = tableHead;
      document.getElementById("table-body").innerHTML = tableBody;
    }

    function loadData() {
      // Spreadsheet ID
      const spreadsheetId = "";
      const range = "A:Z";
      getPublicValues({ spreadsheetId, range }, displayResult2);
    }

    window.addEventListener("load", (e) => {
      initOAuthClient({ apiKey: API_KEY });
    });

    document.addEventListener("gapi-loaded", (e) => {
      loadData();
    });
  }
}
Step 3:
Set your API key and an ID of the spreadsheet you want to use as a data source.
Important:
Before you can use any tool and any Google data in your application, you must first:
- Create a project on Google Cloud Platform
- Create credentials for your project
- Enable specific API for your project (in this case - Google Sheets API )
If you struggle to do all of these - watch the tutorial below, where I guide you step by step to achieve the desired result.
 Google Analytics
Step 1:
Install easyData package (via .zip download, npm or by cloning github repository)
Step 2:
Copy and paste the snippet below into your project.
// Your Client ID
const CLIENT_ID = "";

function loadData() {
  // Your GA property ID
  const propertyId = "";

  const startDate = "7daysAgo";
  const endDate = "today";
  const metrics = [
    { name: "activeUsers" },
    { name: "screenPageViews" },
    { name: "sessions" },
  ];

  const query = {
    dateRanges: [{ startDate, endDate }],
    metrics: metrics,
  };

  runReport(propertyId, query, displayResult);
}

function displayResult(response) {
  document.getElementById("displayUsers").innerHTML =
    response.result.rows[0].metricValues[0].value;
  document.getElementById("displayPageViews").innerHTML =
    response.result.rows[0].metricValues[1].value;
  document.getElementById("displaySessions").innerHTML =
    response.result.rows[0].metricValues[2].value;
}

// Login buttons
document.addEventListener("gapi-loaded", (e) => {
  if (isSignedIn()) {
    document.getElementById("sign-out-btn").style.display = "block";
    document.getElementById("sign-in-btn").style.display = "none";
    loadData();
  } else {
    document.getElementById("sign-in-btn").style.display = "block";
    document.getElementById("sign-out-btn").style.display = "none";
  }
});
Step 3:
Set your Client ID and a property ID of the Google Analytics account you want to use as a data source.
Important:
Before you can use any tool and any Google data in your application, you must first:
- Create a project on Google Cloud Platform
- Create credentials for your project
- Enable specific API for your project (in this case - Google Analytics API )
If you struggle to do all of these - watch the tutorial below, where I guide you step by step to achieve the desired result.
 Search console
Step 1:
Install easyData package (via .zip download, npm or by cloning github repository)
Step 2:
Copy and paste the snippet below into your project.
// Your Client ID
const CLIENT_ID = "";

function displayResult(response) {
  document.getElementById("displayClicks").innerText =
    response.result.rows[0].clicks;
  document.getElementById("displayImpressions").innerText =
    response.result.rows[0].impressions;
  document.getElementById("displayCTR").innerText = parseFloat(
    response.result.rows[0].ctr
  ).toFixed(2);
  document.getElementById("displayPosition").innerText = parseFloat(
    response.result.rows[0].position
  ).toFixed(2);
}

// Your Search Console property and date range
function loadData() {
  const siteUrl = "";
  const startDate = "2021-11-01";
  const endDate = "2021-11-07";

  const query = { startDate, endDate };

  executeQuery(siteUrl, query, displayResult);
}

// Login buttons
document.addEventListener("gapi-loaded", (e) => {
  if (isSignedIn()) {
    document.getElementById("sign-out-btn").style.display = "block";
    document.getElementById("sign-in-btn").style.display = "none";
    loadData();
  } else {
    document.getElementById("sign-in-btn").style.display = "block";
    document.getElementById("sign-out-btn").style.display = "none";
  }
});
Step 3:
Set your Client ID and Search Console property you want to use as a data source.
Important:
Before you can use any tool and any Google data in your application, you must first:
- Create a project on Google Cloud Platform
- Create credentials for your project
- Enable specific API for your project (in this case - Search Console API )
If you struggle to do all of these - watch the tutorial below, where I guide you step by step to achieve the desired result.
Subscribe to our YouTube channel to get informed when they are released.
Subscribe